使用Vite 创建一个Vue3 ts 项目,并配置路由和别名
NodeJs 版本: v16.17.0
Yarn 版本: 1.22.19
Npm 版本: 8.15.0
操作系统 版本: Windows11
初始化项目
创建新的 Vue3 ts 项目
yarn create vite
选择 Vue -> TypeScript
添加 vue-router
yarn add vue-router@next
别名配置
修改 vite.config.ts 文件
import {defineConfig} from 'vite'
import {fileURLToPath, URL} from "url"
import vue from '@vitejs/plugin-vue'

// https://vitejs.dev/config/
export default defineConfig({
    plugins: [vue()],
    resolve: {
        alias: {
            '@': fileURLToPath(new URL('./src', import.meta.url))
        }
    }
})
tsconfig.json 配置
{
  "compilerOptions": {
    "target": "ESNext",
    "useDefineForClassFields": true,
    "module": "ESNext",
    "moduleResolution": "Node",
    "strict": true,
    "jsx": "preserve",
    "sourceMap": true,
    "resolveJsonModule": true,
    "isolatedModules": true,
    "esModuleInterop": true,
    "lib": ["ESNext", "DOM"],
    "skipLibCheck": true,
    "baseUrl": "./",
    "paths": {
      "@/*": ["./src/*"],
    }
  },
  "include": ["src/**/*.ts", "src/**/*.d.ts", "src/**/*.tsx", "src/**/*.vue"],
  "references": [{ "path": "./tsconfig.node.json" }]
}
配置 router
- src 目录下创建 router, views 目录
- src/router/index.ts 代码
import {createRouter, RouteRecordRaw, Router, createWebHistory} from "vue-router";

const routes: Array<RouteRecordRaw> = [
    {
        path: '/',
        name: 'Home',
        component: () => import('@/views/Home.vue'),
    }
]

const router: Router = createRouter({
    history: createWebHistory(),
    routes
})

export default router
- src/main.ts 代码
import { createApp } from 'vue'
import './style.css'
import App from './App.vue'
import router from "@/router";

createApp(App)
    .use(router)
    .mount('#app')
- src/App.vue 代码
<script setup lang="ts">

</script>

<template>
  <router-view/>

</template>

<style scoped>

</style>
- src/views/Home.vue 代码
<script setup lang="ts">
import HelloWorld from '@/components/HelloWorld.vue'

</script>
<template>
  <HelloWorld msg="Vite + Vue" />
</template>
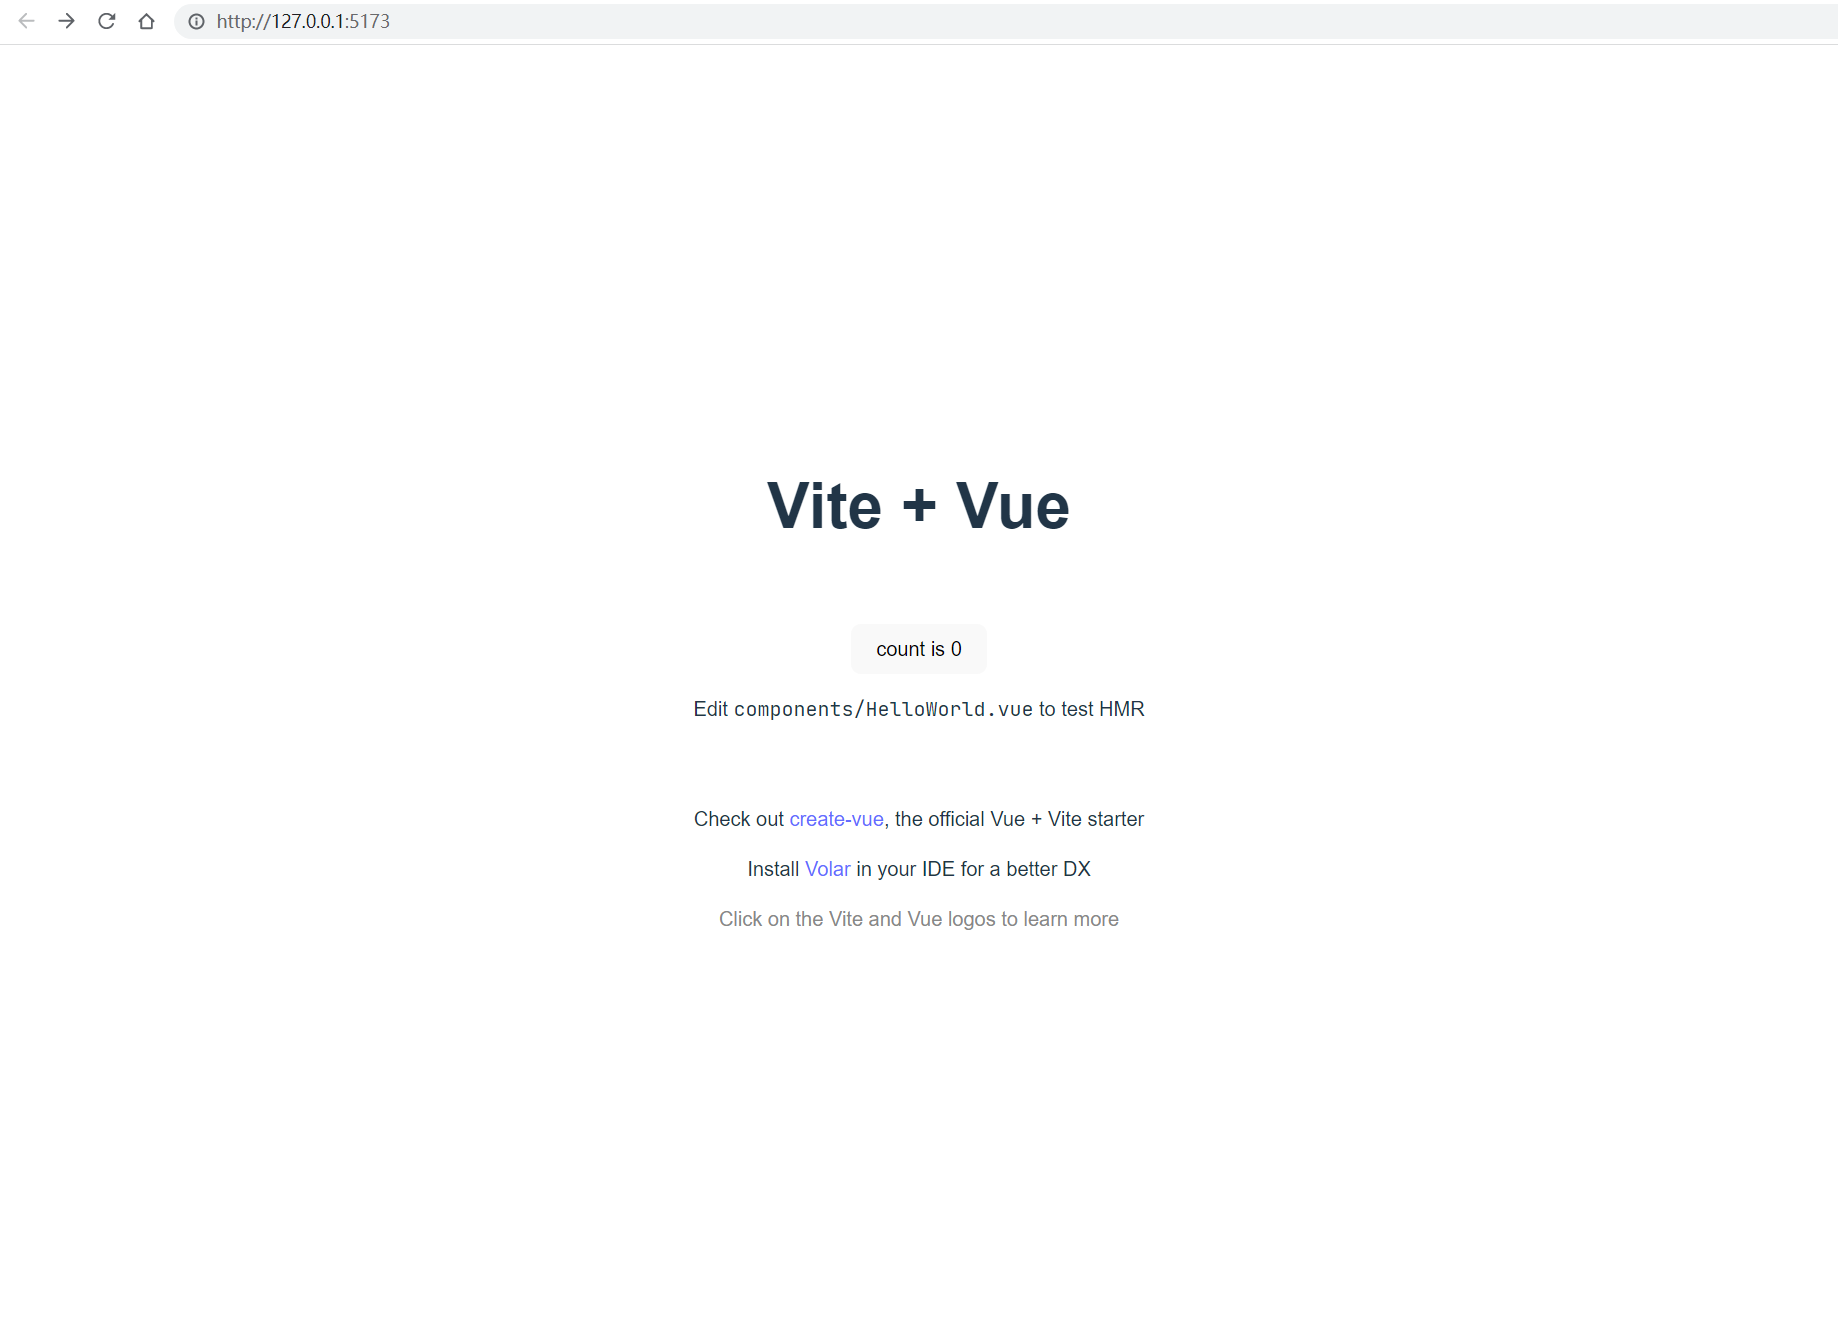
运行截图